
Hi there!
Okay guys, you have no fucking idea how long I’ve been waiting to post this do it yoself. I kept postponing it and I don’t even know why (probably because it is a lot of work to write this blogpost). But I’m so excited to be able to finally share this awesome diy with you! I did this diy in my previous room, as well as in my new studio, because I loved it so much. Are you curious? Well, the do it yoself that I’m going to show you today is how to make your walls less boring by painting a quote on them. I have to warn you though, this will make your walls even more interesting to stare at while studying. So be prepared ;). You can do it on any coloured wall, but I think it looks the best on a white wall. It’s really easy, I just have some tips and tricks for you to make this diy even more failproof! So yeah, hope you’re as excited as I am for this diy. If you’re interested, keep reading :).

So what do you need? The most important thing is the colour paint that you want to use. I went with this taupe colour, because it matched the floor of my studio. The previous time, I painted my quote in black, but it was a pain in the ass to remove it after I’ve moved. So if you’re a student like me, I recommend sticking with a lighter shade, to avoid extra time scrubbing it off if you have to move ;). You also need some tape, a ruler, a pencil and some brushes. I got my brushes for €1 at the Action, really cheap. It doesn’t matter what kind of brushes you use, ’cause we’re not painting any artwork or something, haha. I do recommend sticking with small ones, because they will give you way more precision while writing the letters on the wall.

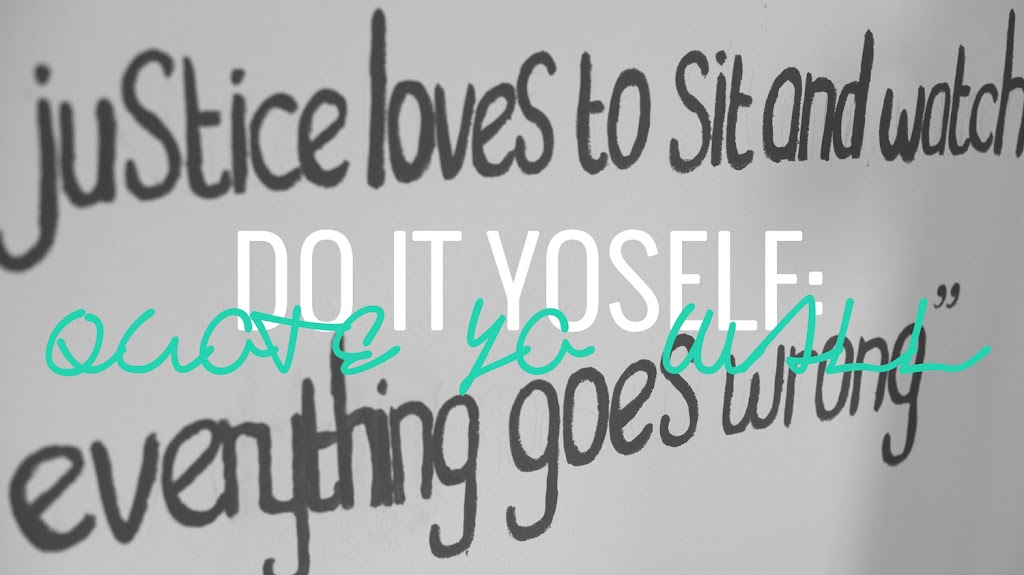
Next step: find a quote that you like. I had a really hard time choosing my quote, because I liked a lot of them. Things that you can keep in mind while choosing a quote is the length of it (it will take up more time/space if it’s really long), how original it is (it’s way cooler if you have an unique quote painted on your wall than something obvious like “live laugh love” or something) and if it keeps inspiring you. With that last pointer I mean that the quote that you choose has to be really powerful, otherwise it will bore you. You’re going to look at it multiple times a day, so it would suck if the positive effect of the words will fade away after only one week or so. So choose wisely! The quote I picked is from my favourite book series (A Series Of Unfortunate Events) and it goes:
“I will love you as misfortune loves orphans, as fire loves innocence and as justice loves to sit and watch while everything goes wrong” – Lemony Snicket
I picked this quote because of the justice part. I thought it was really ironic that a lawyer-to-be has a quote like this on her wall. I don’t know, I think it puts my study, my job, my life in a bigger perspective.
I recommend writing your quote on a paper before writing/painting it on a wall, because that way you can see where to place all the words exactly. I ended up changing the places of the words multiple times, because they didn’t fit properly the first time I wrote them down.
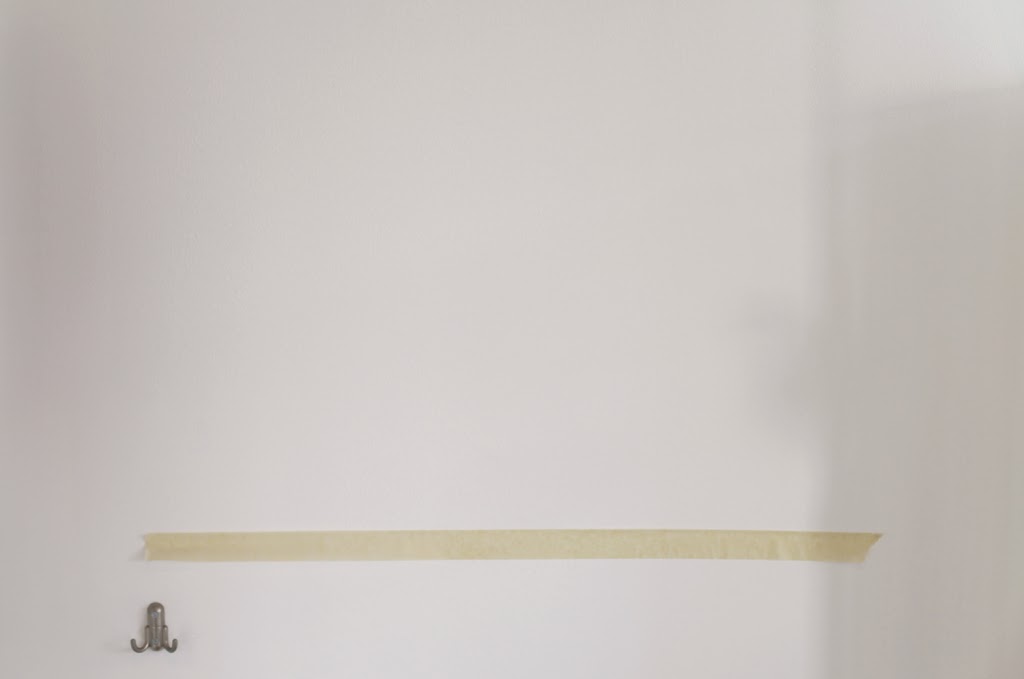
So after you picked your quote, you have to pick the spot in your room where you want to paint it. I decided to paint it next to my kitchen wall, so I could see it while cooking. To avoid your words from going all crooked and stuff, I used this tape to make a line. This is going to be your guideline while painting all the words of the quote.

To make sure the space in between the lines is even, I used a ruler to measure the distances. You should measure at the beginning, middle and the end of the line, to make sure the distance is completely even at every point of the line.

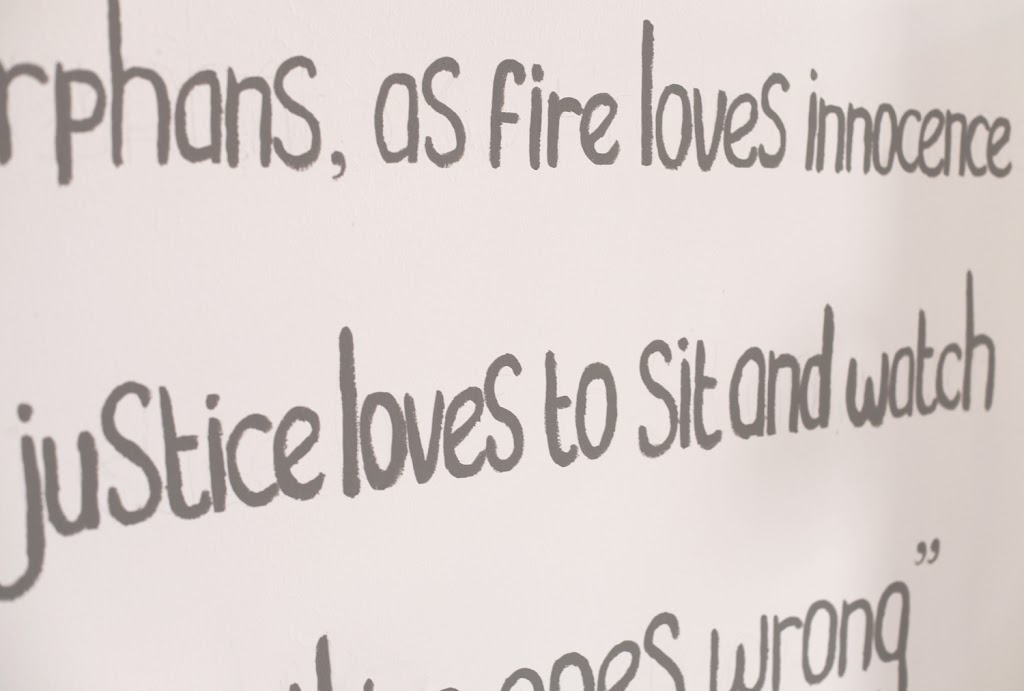
The end result is going to look something like this. Of course, this depends on how long your quote is. Because my quote is quite big, I had to use 4 lines.

Then it’s time to write the quote on the wall. I assure you, please write it with pencil first before painting it! This way you will know if all the words are going to fit on the line. I ended up changing the place of the words a lot, but luckily you can just erase the pencil with a eraser, without damaging your wall or something. If you would start with the paint immediately, you would not have this option (which sucks, especially for persons like me, who mess up all the time).

Then, it’s finally painting time! I recommend starting with the ‘author of the quote’-part, because your first words usually suck a bit haha. That’s totally fine, ’cause you just have to get used to painting letters on the wall. If you start at the author part though, the chances aren’t that big that people are going to notice, because it’s such a small part of the quote. It doesn’t matter if it’s, for example, a bit smaller or bigger there. It’s much more noticable if it’s in the quote itself, because then people expect all the letters to be the same.
So yeah, after you did the author part, you just have to keep going! It doesn’t matter if it isn’t perfect at first, you can always fix it with a cloth and some water (trust me, I had to do this a million times, because I forgot one word and I had to add it in between… I know, I’m so freaking stupid). Also, you can always clean up all the edges with some extra paint after you removed the tape. And remember, the imperfectionness is what makes it unique. It’s your handwriting, it shouldn’t be as perfect as a computer :). Oh, and don’t forget the inverted commas! I think they make it look way more quote-y, if you know what I mean, haha.

How long this diy is going take you, depends on how long your quote is (and on how many minutes you spend on Instagram during the process, lol). Because my quote was quite long, I ended up needing almost the whole day to finish it. It was totally worth it though, because I love the final result!

This is the final result! I’m totally in love it, still. I painted it when I just moved to my new place (in May) and now it’s September and it’s still inspires me every time I look at it. So yeah, that’s it for today’s do it yoself. The thing with this diy it’s that it isn’t hard, but it will take you some time. Just do this on a lazy sunday or something :). As I told you already, if you find yourself often staring at walls while studying, this diy will make it even more interesting to stare at them, haha. Anyways, I hope you enjoyed it and found it inspiring. If you decide to do this diy as well, please let me know in the comments below, I would love to see your final results! I don’t have anything interesting to say anymore (just random thoughts, like always), so I’m gonna go now. Talk to you later loves!
xo Lilia


This is so awesome! Knew that it was one of your fav quotes and yeah the comma’s are a big plus on making it nice wall art! Saw something similar on Katizzles blog, but she used paint tape (you don’t get comma’s like those though).
haha thankyou! oh, i don’t know that blog, but i like the effect of painting it. xo
Leuk idee! Het is goed gelukt X
dankjewel! xo
Heel leuk idee! Mooi gedaan ♥
dankjewel <3 xo
Super leuk en creatief! 😀
xoxo
http://www.its-dash.com
hihi bedankt ! xo
Wat een creatief idee! Ik ben dol op quotes, dus dit is zeker iets voor mij. Ik heb wel iets vergelijkbaars op de bovenkant van mijn bed, maar dit vind ik ook erg leuk.
aww dankjewel! jaaa quotes zijn zo leuk! xo
Hey there, I just nominated you for the Liebster award, info and questions are on my blog! xo
http://nobodyknowsliv.blogspot.pt/
thankyou so much! i won’t be answering them though, because i’ve already been nominated 2 times 😉 xo