

Yooo guys!
Today I have a diy for you, actually my first diy ever! It’s going to be very simple, just because I’m usually too lazy to do all the steps you need to do. You’ve probably seen a lot of do it yourselfs on this, but I still wanted to make my own version, because I think everybody does it a bit differently anyways! So this diy is going to be about how to rip your jeans. Lately I’ve been really into the kinda ‘clean rips’ look. It’s not a ‘thing’ or something, I just made that name up lol. But what I mean is that I really like the look of relatively neat rips. I especially love the look of just 2 rips at the knees of the jeans. So that’s what I’m going to show you with this diy! If you’re interested in making your own pair of ‘clean rips’ jeans, keep reading!

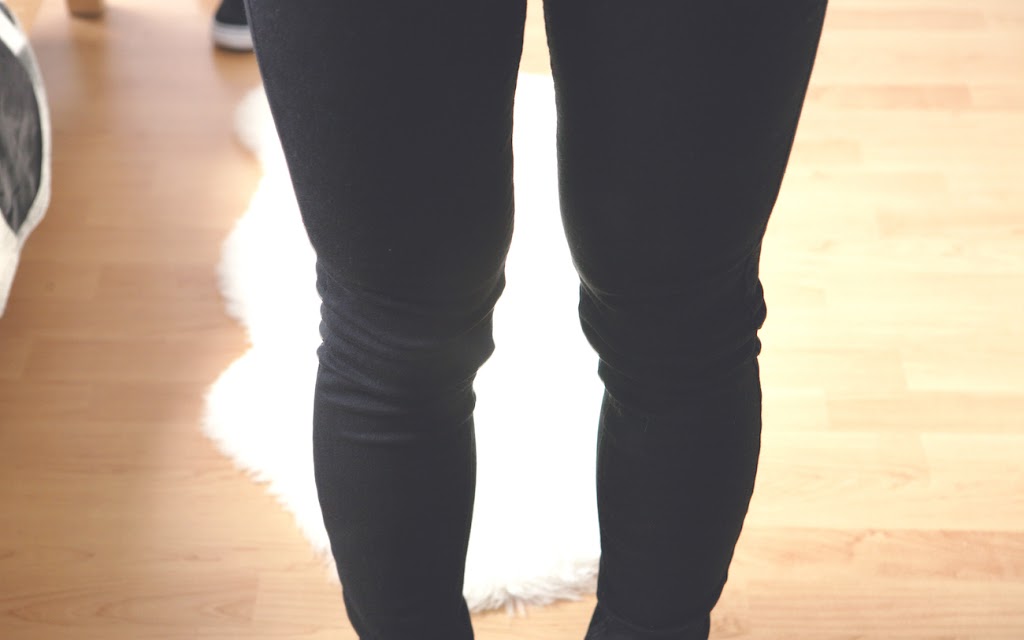
The only thing you need for this diy is a pair of jeans (I prefer mine black & highwaisted but any jeans will do!) and some scissors (I used regular scissors, not ones especially for fabric or something). The pair I’m using is from H&M. Yeah, it’s pretty easy!
The next step is to make the holes in your jeans, depending on where you want them. I’ve been really into the single rips on the knees, so that’s what I’m going to do. I recommend you cutting the hole more at the top of the knee, instead of the middle, because everytime you’re going to wear the jeans, the hole will get bigger. If you don’t want enormous rips after a while, it’s better to cut the hole a bit higher. This way you’re knees will put less pressure on the hole, so they’re not going to rip as quickly.
I think the easiest way to cut at the right spot is while wearing the jeans. Just be careful not to cut yourself!
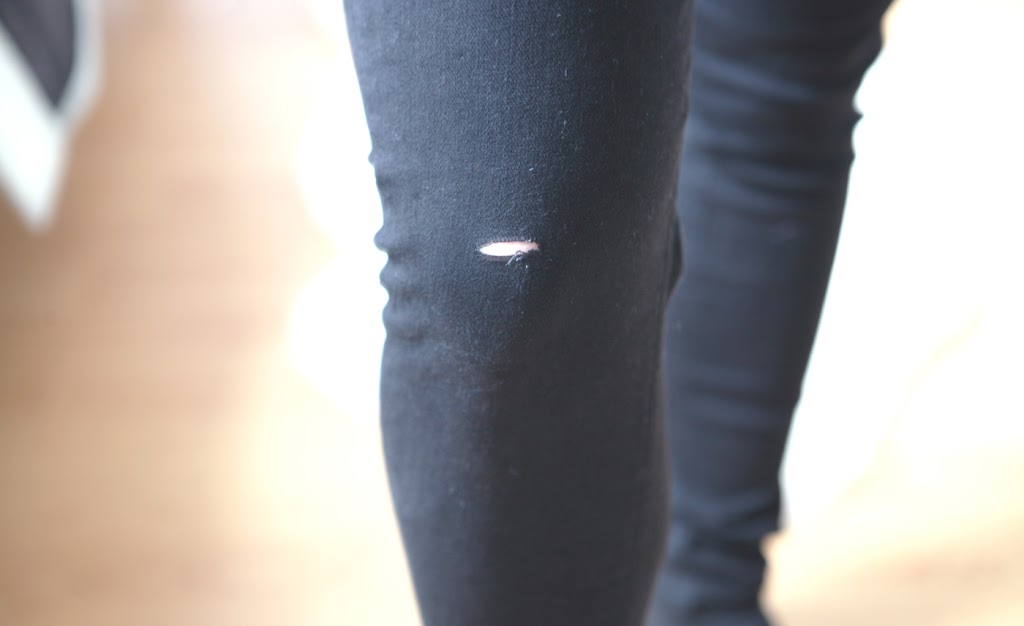
Start by cutting a very, very small hole with your scissors at the spot where you want the rip to be. You need to cut the hole in the lenght of the knee. Not vertical, but horizontal. If you cut your hole vertical, it’s going to end up being way bigger (too big in my opinion)

If you cut to the left and to the right, you get something like this! I just cut a straight, horizontal hole, nothing more! You need to stop cutting your hole at the seam, otherwise you’re hole is going to end up at the back of your leg as well, not cute haha!

Repeat the same steps on the other knee and your done! That was easy huh? If you want a more ripped look, throw your jeans in the dryer. They will come out much more worn, trust me!

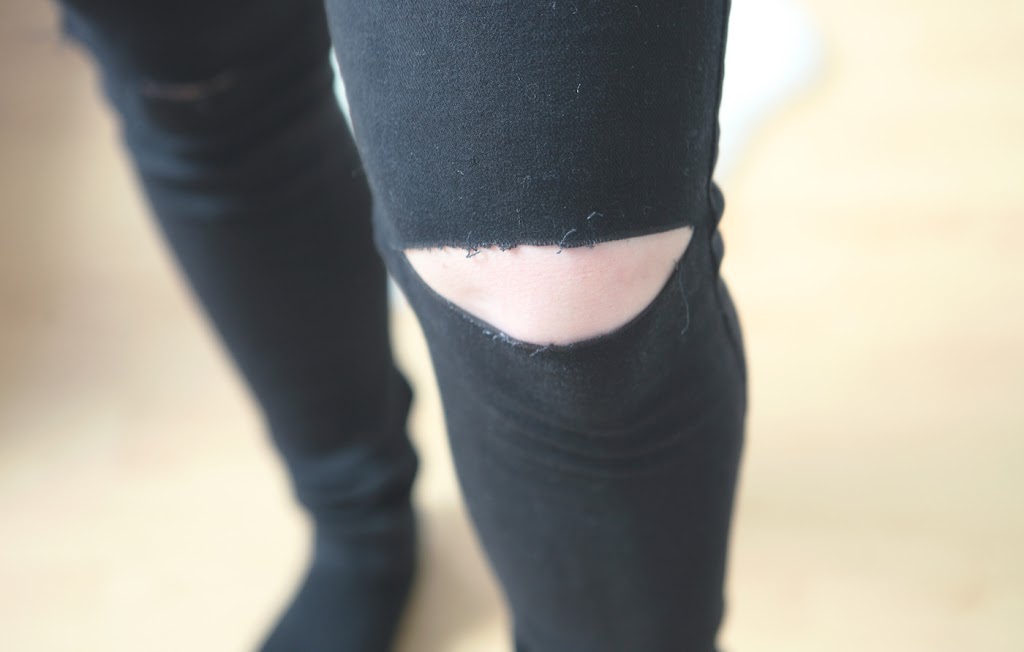
And this is the finished result! The more you’re going to wear your jeans, the bigger your holes will get. I really recommend not making your rips too wide, otherwise you’re going to end up with more holes than jeans haha! I took these pics right after I made the rips. You couldn’t only see the rips if I bended my knee. Now I’ve worn these jeans a lot and the holes are definitely visible if I don’t bend my knees as well. So start of small, ’cause they will get bigger quickly!
If you want some inspiration on how to style ripped jeans, you can check out my blog later this week, ’cause I’m going to post an ootd with these jeans :). This is a lil’ sneakpeak for you already!
I hoped you found this diy a bit helpful, or at least inspiring enough to make your own pair of ripped jeans! Have fun diy’ing :)!
xoxo Lilia


aahh leuk! heb ik ook gedaan! geeft toch wel een edgy effect
dankjewel! jaa klopt, ik hou echt van edgy! x
Leuk gedaan! Ik probeerde het laatst ook. Maar ik ben zo
lomp dat ik mijn hele broek heb verpest haha!
xoxo
http://www.its-dash.com
ah balen zeg! je moet echt voorzichtig zijn met te grote gaten maken! x
good job! i love it 🙂
Marianna,
THE ADVENTURES OF A SHOPAHOLIC
THE ADVENTURES OF A SHOPAHOLIC ON FACEBOOK
thankyou! x
Leuk ! Een simpele DIY is het beste om mee te beginnen x
dankjewel, en ben ik idd helemaal mee eens! x
Gaaf! Wilde het toevallig binnenkort gaan doen, dus deze tutorial komt goed van pas 🙂
ah wat leuk, ben benieuwd naar je resultaat! xo