

Hello!
Omg guys, it’s been raining like crap the whole day. And I actually needed to go to the supermarket, but I just refuse to go when the rain is pouring. I feel like watching movies all day and eat ice cream, but unfortunately I have to do work and I don’t have any ice cream. Yeah, poor me. And I also just fell asleep, because this weather gets me so tired. Anyways, I’m rambling on. In this blogpost I wanna talk about my nails routine, or how I like to call it: Perfect Mani Routine, haha. I think it’s very important how your hands and nails look. It makes a good first impression if you have pretty, soft hands right? So that’s why I always make sure they look nice! I’m gonna tell you step by step all the product that I use. I randomly discovered all of these products, but they’re all the best I’ve ever tried!
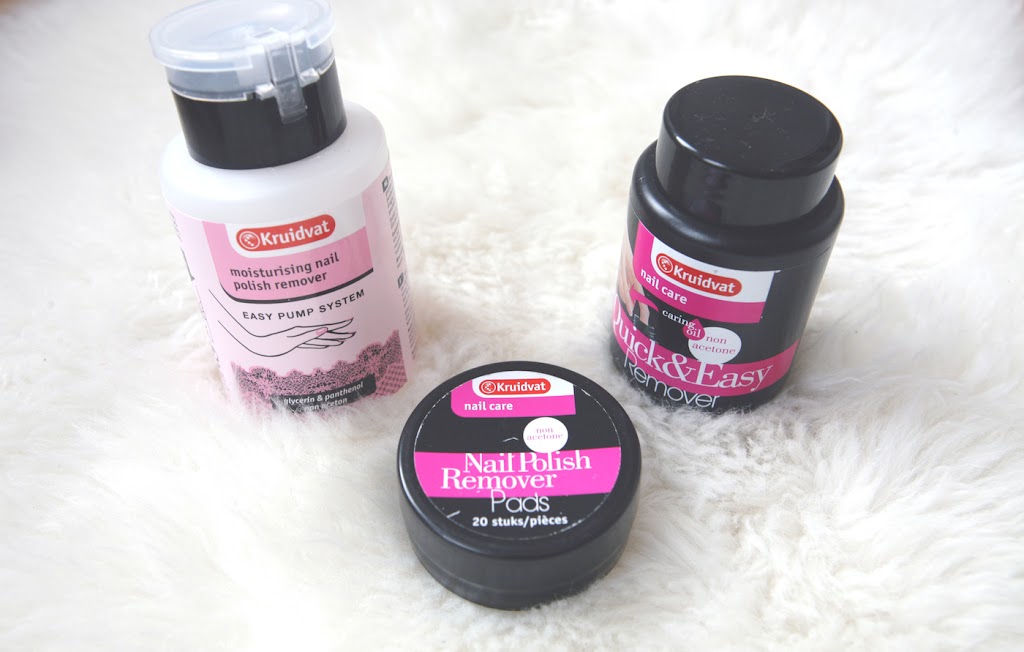
First thing that you have to do is remove your old nail polish. I don’t like using nail polish removers with acetone in them, ’cause they dry out my nails terribly. I know a lot of girl still use them, because they think it works way faster and better than nail polish remover without it. Well girl, you have to try these ones, ’cause they are all amazing! All of these removers are from Kruidvat. Yeah Kruidvat, your nail polish remover game is on point haha!
The one on the left side is the Kruidvat Moisturizing Nail Polish Remover. What I love about it, is that has a very handy pump: you just put a cottonpad on the opening of the bottle and it will distribute the product evenly! Also, I really like the fact that it doesn’t dry my nails out at all (hence the moisturizing in the name of the product!) and doesn’t have acetone. Last thing that I like is that it has a nice smell, not like your typical nail polish remover! The price by the way is €2,49
The product in the middle are the Kruidvat Nail Polish Remover Pads. They’re are little pads soaked with a more oily kind of nail polish remover. I only use them when I’m on the go, ’cause it’s such a little pot. And who does want to walk around with chipped nails?! I totally hate it when that happens, I rather wear nothing on my nails than chipped nail polish. It has also a nice smell and is non-acetone, but the only thing I don’t like is that it leaves your hands a bit greasy. So you need to wash your hands afterwards, which is not ideal if you use it on the go. The price is €1,80.
The one on the right is the Kruidvat Nail Polish Remover Quick & Easy. This is the one that has a hole in the middle where you can put your finger. After that you just twist it around and your nailpolish will come off! Very easy! The biggest plus of this nail polish remover is that you don’t have to use any cottonpads with it.This nailpolish also has no acetone in it and has a nice smell. The price is €2,49.
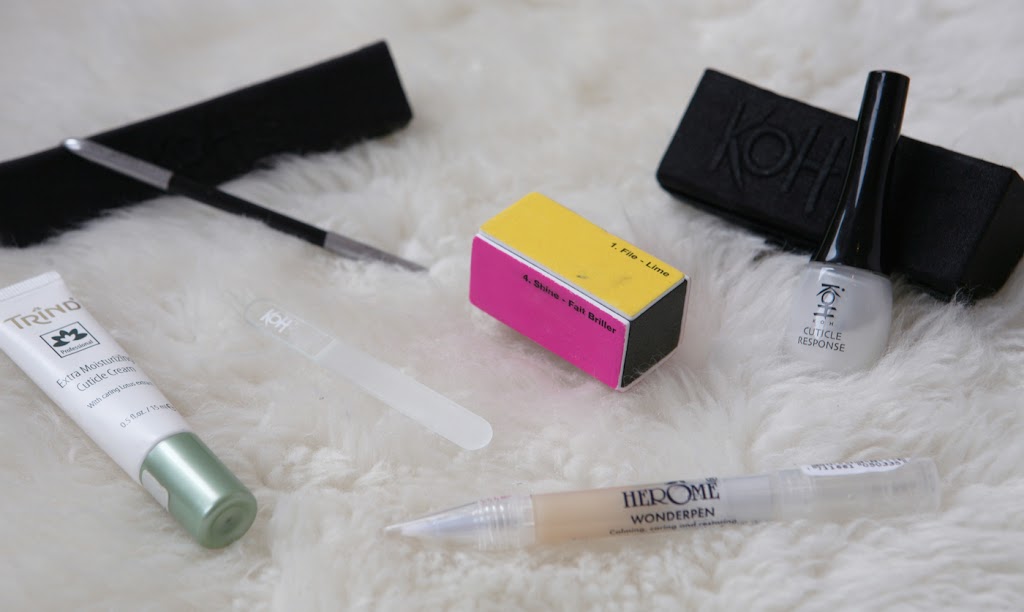
Okay, onto the nailcare! First thing I do is file my nails with this Koh Crystal Nail File To Go. I used to have the big one, but it got stolen. Too bad, ’cause it came in such a handy case, so it never broke (which happened to all my other glass files!). Because the full size was so expenisive, I decided to buy the to go version. It works just as good, it’s just smaller and doesn’t have the amazing case that the big one did (which sucks, because it’s a travel version right? Why wouldn’t you make a little case for it then! Bluhhh). It’s the best nail file I’ve ever tried, ’cause it files them very softly yet effectively, and you don’t get that annoying feeling some nail files can give you (I hate that!). The price is €9,95.
After filing my nails, I buff them, to make sure they’re even and don’t have any ridges. I use this 4 step nail buffer from Sephora. I have no idea how much this one is. I like it, but it’s not amazing, just like your regular nail buffer.
Now onto my favourite step, pushing back my cuticles. I use Koh Cuticle Response to make my cuticles soft and I use the Koh Nail Pusher and Cleansing Stick to push my cuticles back. I once had a manicure at Koh and they used these products on me. I fell immediately in love with them, because I’ve never tried anything that made my cuticles so soft as these 2 did. Really, if you want nice cuticles without any little pieces of skin sticking out (okay sounds gross, but I have no idea how you would describe them otherwise). The stick has two different sides, a pointy one that I use for the sides of my cuticles and a rounder one, which I use for the back of my cuticles. These 2 products are definitely my nail care holy grails, without these products my nails wouldn’t look as amazing as they do! The stick is €20,30 and the Cuticle Response is €19,85.
Last step is that I use a product to moisturize my cuticles. I like to use the Trind Extra Moisturizing Cuticle Cream or the Herome Wonderpen. I don’t have a favourite, they both do the job. The Trind one is a bit more creamy, while the Herome one is more oily. The Trind one costs €8,05 and the Herome Wonderpen is €9,15.

After all of these steps, I like to moisturize my hands. I have a couple of lil’ hand creams that I like to use. The one on the left is the OPI Avojuice Vanilla Snowflake Hand & Body Lotion. I think this hand cream has the best smell of all of them. It’s smells sweet and vanillary. The consistency is also nice, it’s a bit more gelly, so it doesn’t make your hands greasy. I don’t know the price of this one. The one on the upper left side is from Amouage and I got it from our hotel in Dubai. It’s a hand & body lotion as well and also has a liquidy consistency, it’s not that thick. The one on the upper right side is the hand cream I carry with me everyday. It’s the L’Occitane Shea Butter Dry Skin Hand Cream. This is the thickest hand cream that I have, so I use it when I really want to moisturize my hands. It also has a very soft, clean scent, which I love. It is €7,-. The last hand cream that I use is this one from Philosophy, Hands of Hope, that I also got for free at an airplane flight. This hand cream is also nice, it’s not as thick as the L’Occitane one, but it’s less gelly than the OPI one. I don’t really have a favourite, ’cause I use them all. I think it’s just so easy that they’re all so small!
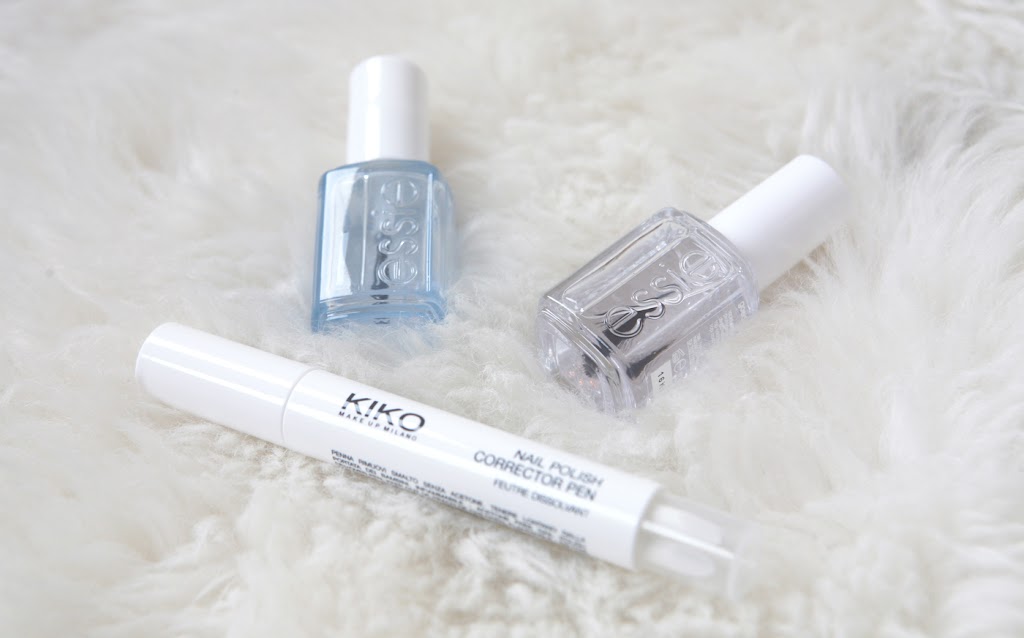
And then the last steps! Before I put on any nail polish, I always use a base coat. I use the Essie Grow Stronger Base Coat. I used to never use a base coat, because I hated the fact that all the base coats that I tried made my nail polish peel off. This is the first one that doesn’t do that! I also feel like it definitely has made my nails stronger. I used to have strong nails from the beginning, but they did break now and then. Now my nails never ever break, definitely due to long use of this base coat! Also, my nails always look white and don’t have a yellow sheen anymore. This always happened to me if I used a dark nail colour. Now I use way more nail polish than before, but my nails look way more white. Yeah, you can definitely tell that I love this base coat! The price is €12,99.
After I’ve put on the nail polish of my nails, I always top it of with a top coat (haha). The one that I use is also from Essie, and it’s called Good To Go. It makes my nail polish dry way quicker and it doesn’t give me little bubbles (like for example, Seche Vite and INM gave me). It makes my nail polish shinier and it lasts longer (usually half a week upto almost a whole week). The price of the top coat is €12,99.
If I made any mistakes with my nail polish application (and trust me, I do, I’m the suckiest nail polish applier ever, haha). I use this Kiko Nail Corrector Pen. It has a bit of nail polish remover in the tip, so that way it can remove the nail polish, without ruining everything. Very handy! It is €5,90.

So this is how my nails look without any nail polish on and after I completed this whole routine. I used to file my nails in a round/oval shape, but lately I’ve been into squoval/square shapes more. I think my nails look better now in that shape. Don’t know why, but I used to hate how it looked. Guess taste changes, haha!

And this is how my nails look with nail polish on! The nude colour is from Koh and it’s called 318 Cocktail. The rose gold glitter on top is Essie A Cut Above. Really like the combination of the two!

I hope you found this guide to a perfect mani useful! I try to do this once a week. I’ve done this for around 3 or 4 years. My nails are always in a very good condition, they almost never break. So I guess this routine is the reason why. Anyways, have a nice day and I talk to you later loves!
xoxo Lilia


Wat heb je mooie nagels!
aww dankje!